1. Assign Salary to Staff
Each staff member can have a different salary type assigned to them based on how you compensate them. These salary types define how the system will compute the salary at the end of the month.
2. Salary Computation at Month-End
At the end of each month:
- Go to the Staff Salary page
- Click on the COMPUTE SALARY button
- spynPRO will calculate each staff member’s salary based on their assigned salary type
You can adjust the salary before marking it as paid. Once paid, it is automatically recorded as an expense in the Expense module.
3. Salary Types Explained
Fixed Salary
Description: A fixed monthly amount
Example: ₹30,000 per month
Based on Days Present
Description: Daily rate × number of days present
Requirement: Staff must check-in
Example: ₹500/day × 20 days = ₹10,000
Based on Sessions Present
Description: Per-session rate × number of sessions present
Requirement: Staff must be marked present in class schedule
Example: ₹200/session × 15 sessions = ₹3,000
Checked-in Hours
Description: Hourly rate × total checked-in hours
Requirement: Staff must check-in and check-out
Example: ₹100/hour × 100 hours = ₹10,000
Revenue-Based
Description: Percentage of revenue generated through sessions
Formula:
Salary = Share % × Sum of (All client sessions × Per session cost)
Example:
- Staff share = 20%
- Session 1:
- Client 1: ₹1000/20 sessions → ₹50 per session
- Client 2: ₹600/10 sessions → ₹60 per session
- Session 2:
- Client 1 again: ₹50 per session
- Calculation: 20% × (₹50×2 + ₹60×1) = ₹32
4. Adjust Staff Salary
To make adjustments:
- Go to the Staff Salary page
- Select the staff member
- Click Edit Salary
- Enter adjustment:
- Use
+2000to add (e.g., bonus) - Use
-2000to deduct (e.g., leave deduction)
- Use
- Optionally, add a note for clarity (this appears on the salary slip)
- Click Save
5. Send Salary Slip to Staff
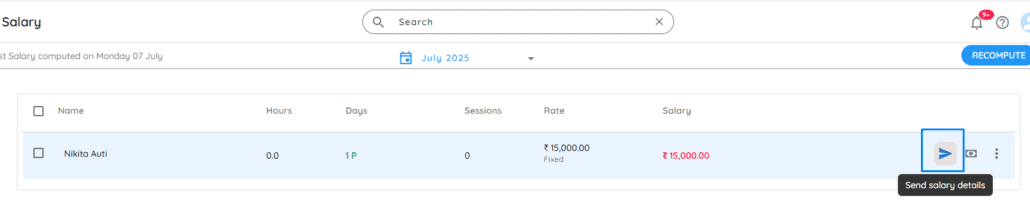
- Go to the Staff Salary page
- Hover your mouse over the staff member’s row
- You will see the Send Salary Details icon appear
This sends the salary slip to their registered email.
You can also send slips in bulk to multiple staff from the same page.
6. Mark Salary as Paid
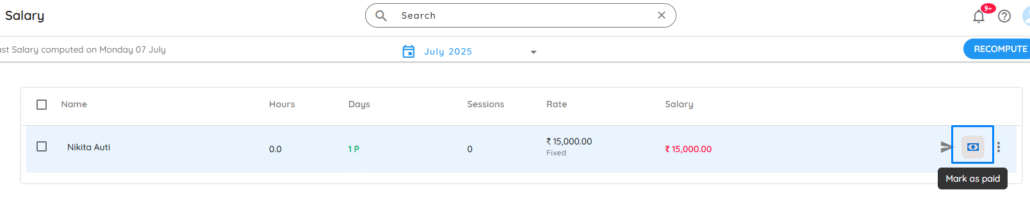
- Go to the Staff Salary page
- Hover your mouse over the staff member’s row
- You’ll see an icon appear – click on Mark as Paid
- Choose:
- Payment mode
- Paid date
- Paid by
- Optional note
- Click the Mark as Paid button
Once marked as paid:
- It’s recorded as an Expense
- The salary can no longer be edited, but you can delete and recompute it if needed
7. Change/Edit Paid Salary
You can’t edit a paid salary directly, but you can delete and reprocess it:
- Go to the Staff Salary page
- Hover over the staff member’s row
- Click on the three dots (⋮) icon
- Select Delete Salary
- Click COMPUTE SALARY again
- Make any necessary adjustments
- Save and send the updated salary slip