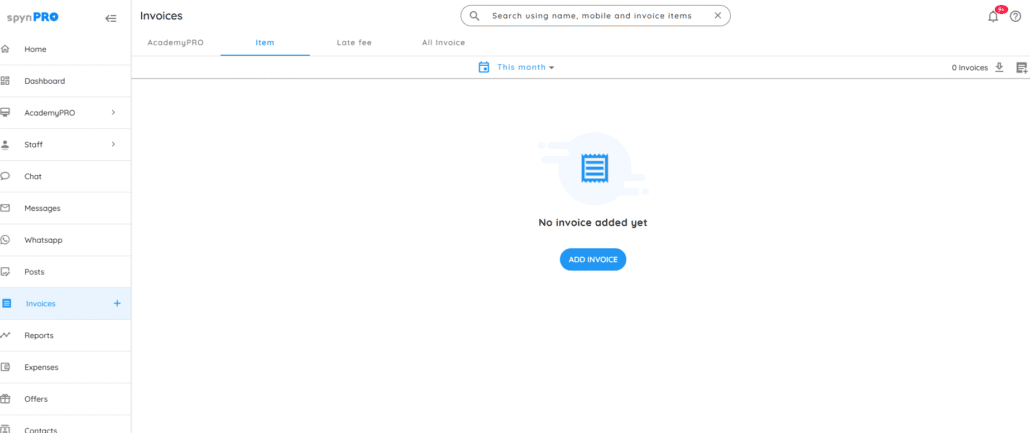
Create single item invoice for accessories like jerseys, cricket kits, and more.

1. Open the Invoice Section
- On the Home page, click Invoices in the left navigation panel
- On the Invoices page, select the Item Invoices tab
- Click Add Invoice to begin creating a new invoice
2. Enter Client and Invoice Details
- In the Search field, enter your client’s name
- Their gender, email, and mobile number will auto-fill
- (Optional) Configure the invoice prefix and number in Settings → Invoices
- (Optional) Adjust the invoice date
- (Optional) Select a salesperson for tracking sales (if enabled in settings)
3. Add Items to the Invoice
- Click on the Items section, then click Add New Item to create a new product/service like jerseys, cricket kits, etc.
- You can now select this item from the dropdown in future invoices
- To add multiple items, click Add Item again
- (Optional) Add any visible notes for the client
4. Finalize and Send the Invoice
- Toggle Payment Received ON if payment has already been collected
- Click ADD to save the invoice
- You can send the invoice via:
- Connect app
- WhatsApp (if email or mobile number is available)